By Joseph Sanchez
President, Rocky Point Home Builders
We meet with many clients each month and answer many of the same questions such as what the process is to get permits, how do we establish electric, water, what are the costs? We thought this month we would address the steps required to break ground on your dream home in this month’s article, so you can have a better understanding of the process and costs.
Step 1 – Clean Title
Before you begin to design your home, you must first make sure that all tax payments are up to date on your property or you will not receive your permits. This is easy and tax payments are inexpensive compared to paying property taxes in the U.S or Canada. Make sure you keep all receipts for your tax payments in a file, so you can easily retrieve them when needed.
Step 2 – Topography Survey
Before designing your home, you must get your lot surveyed by an engineer. This is an important aspect of your home design because a professional architect will use the survey to design the home according to the flow/slope of the lot.
Step 3 – Home Design Blueprints
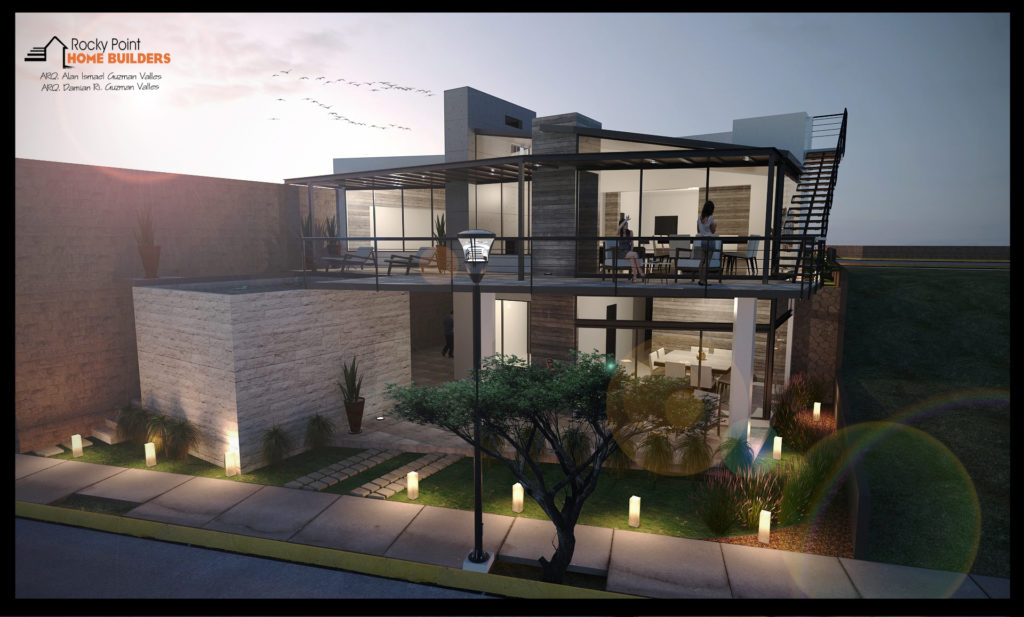
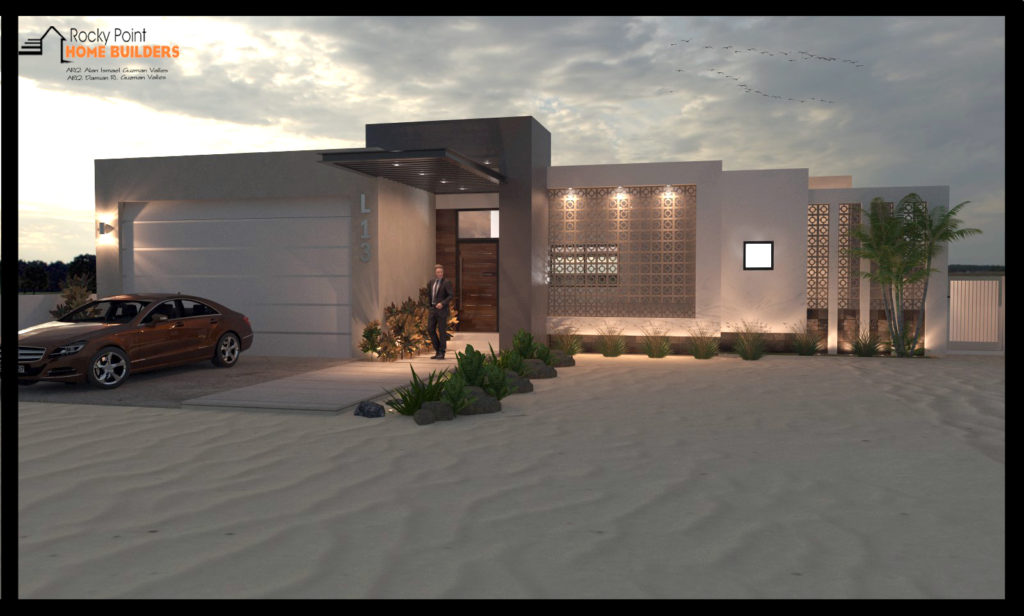
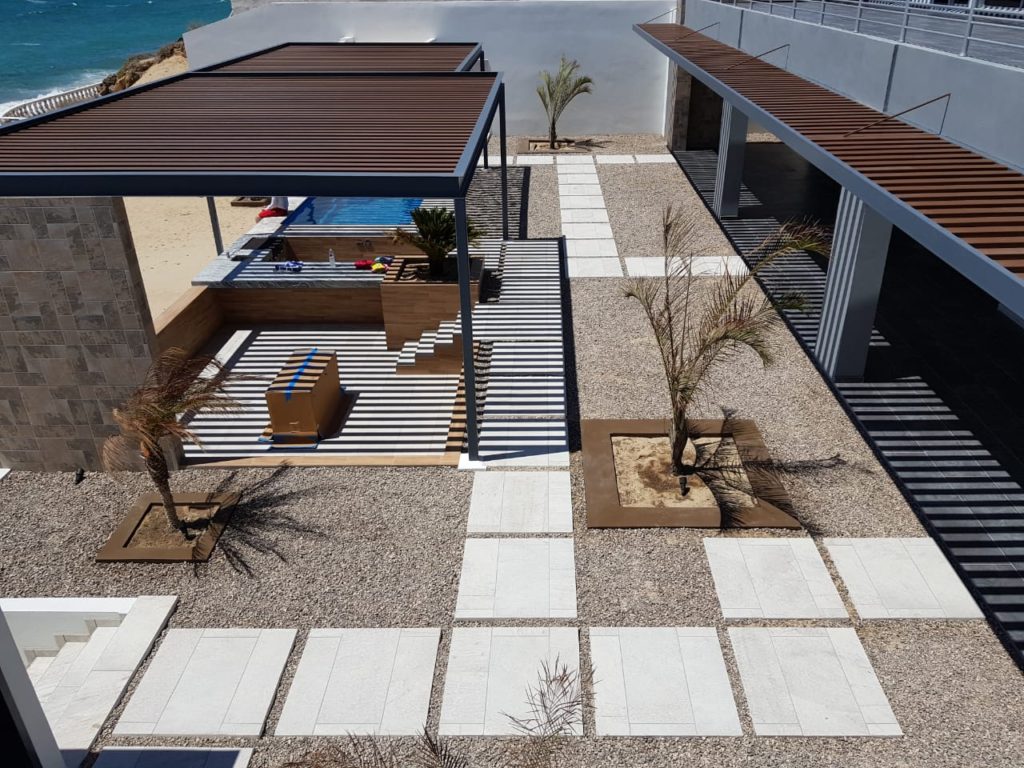
Before you can begin to build your home you obviously need a blueprint for construction. The blueprints will be taken to city hall and your HOA for approvals and permits. We highly recommend working with a Design/Build contractor for designing your home because the benefit is your home will be designed according to your budget. A design/build contractor knows the costs of construction so if you want to stay in budget this is very important. Don’t make the mistake of designing a dream home by an independent architect then take it to a contractor and become shocked by the price. A design/build company will design the home according to your exact budget.
Step 4 – HOA Approvals
Once your home design is complete, most HOAs want to review the plans and approve them first before you get permits from the city. Some HOAs charge money for the permission to break ground others do not. Some have environmental impact fees, road fees and other costs. All HOAs are different and its important to understand the rules before purchasing your lot.
Step 5 – DRO Permit
After your HOA signs off on your plans, if required, now its time to take your blueprints to the city engineer known as the DRO here in Mexico. The DRO will review the plans and sign each page of your blueprints. There is a cost for his signature and it depends on your location of your lot and the sq. meters. The more desirable the location and the larger the home the more expensive the cost. But costs can start as low as $1000 and go up from there. Unfortunately, there is no published pricing schedule to review it is only determined by the DRO office on a per application basis. However, your architect or contractor will get this completed on your behalf.
Step 6 – City Permits
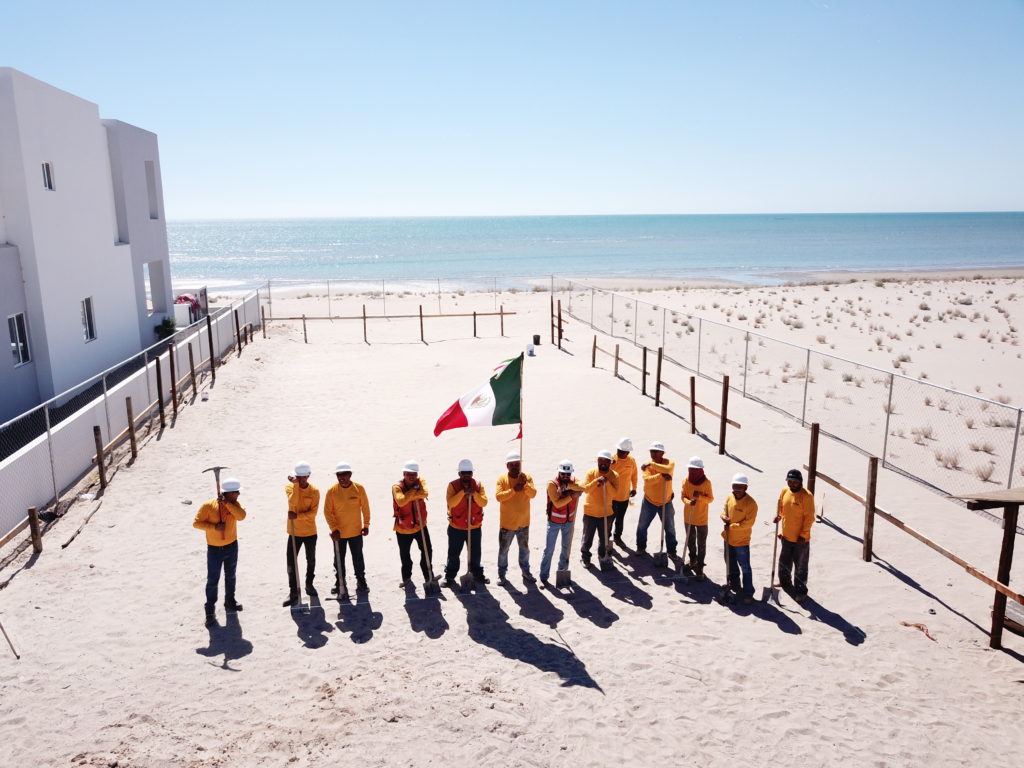
Once you get your DRO signature you are now ready to get your construction permits. Your contractor or architect should do this on your behalf and will navigate the bureaucracy for you. The costs can start as low as $1000 and higher again depending on the location and the total sq. meters of the design. This is the part where they will ask for your tax payment receipts for the year, a copy of your Fideicomiso and a copy of your IDs. If you are unsure of what is a Fideicomiso ask your real estate agent they are happy to help.
Step 7 – Water and Electric Service
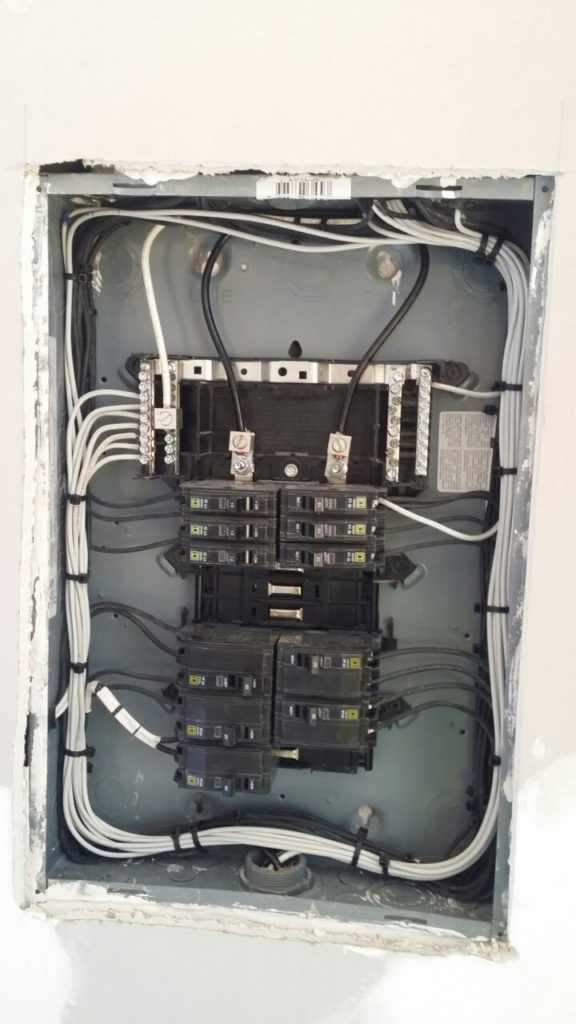
Once you get your city permits and the DRO signature you have the green light to break ground but first you need to establish electric and water on the lot before anything begins. The electric company here is CFE and the water company is OOMAPAS. Your contractor should again take care of this for you and work with them to get it done. Costs for water, if its available in your subdivision, starts as low as $300 and can go higher depending on location. For electric service, costs can start as low as $500 and go higher again depending on location and depending on if you need a transformer. If you need a transformer than can add a significant cost as much as $1,000-$3,000. When buying a lot look for a transformer near your property if you don’t see one that should be taken into consideration before you purchase. You will again need a copy of your Fideicomiso and a copy of your IDs to establish the service.
Step8 – Lot Prep
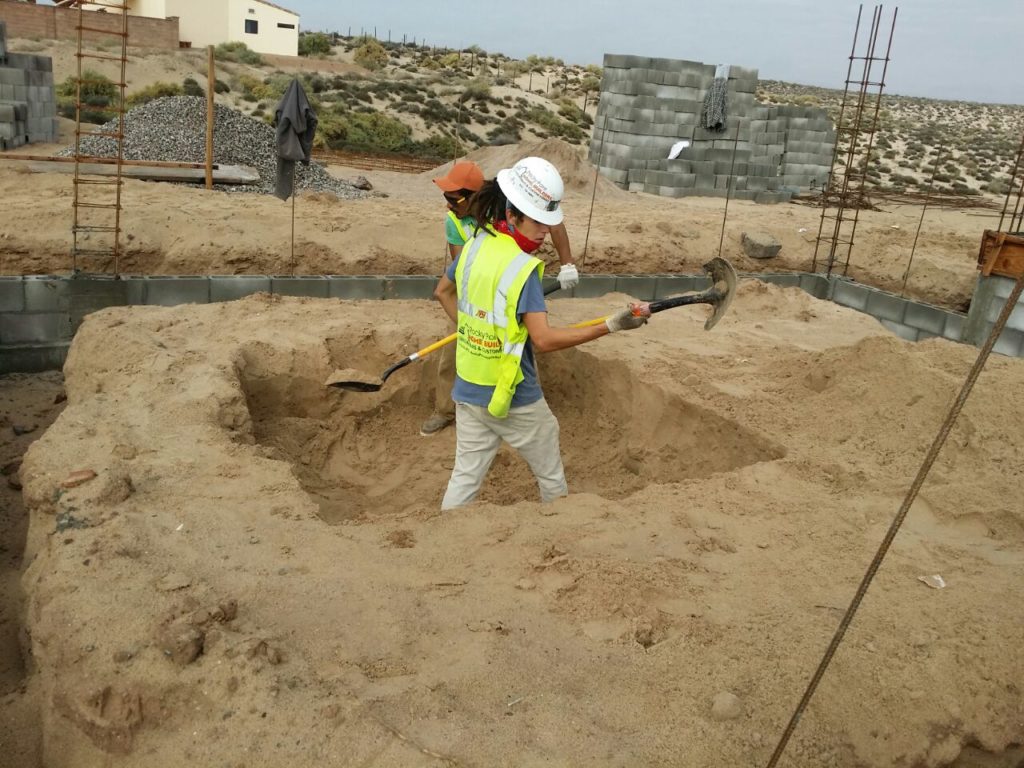
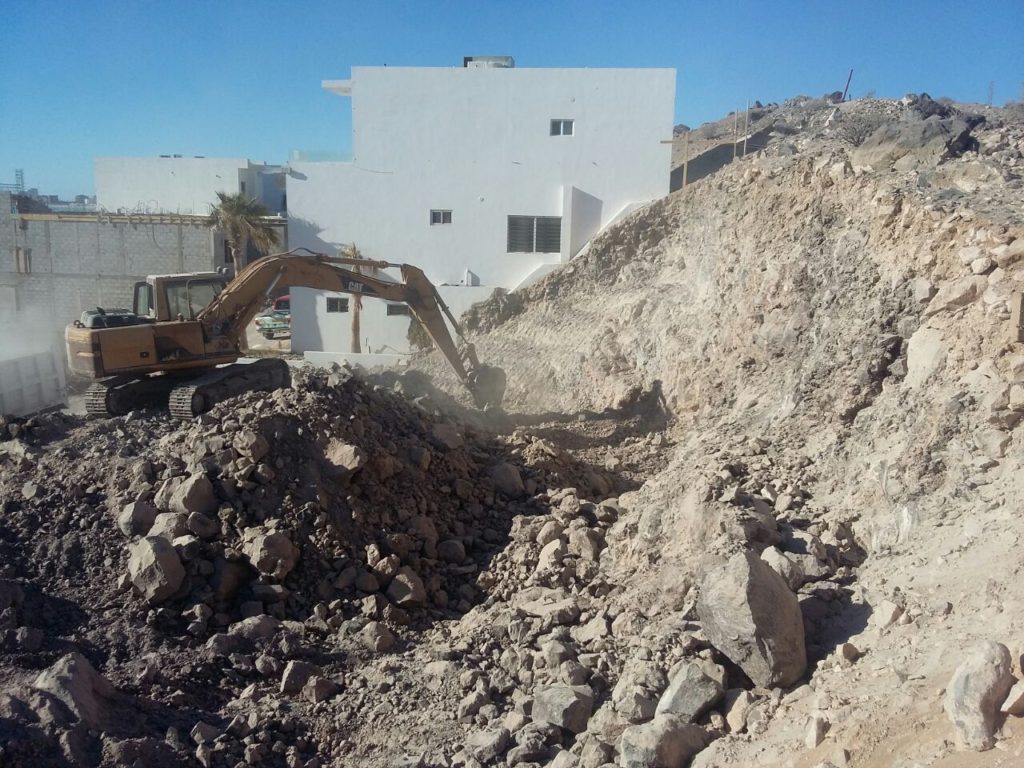
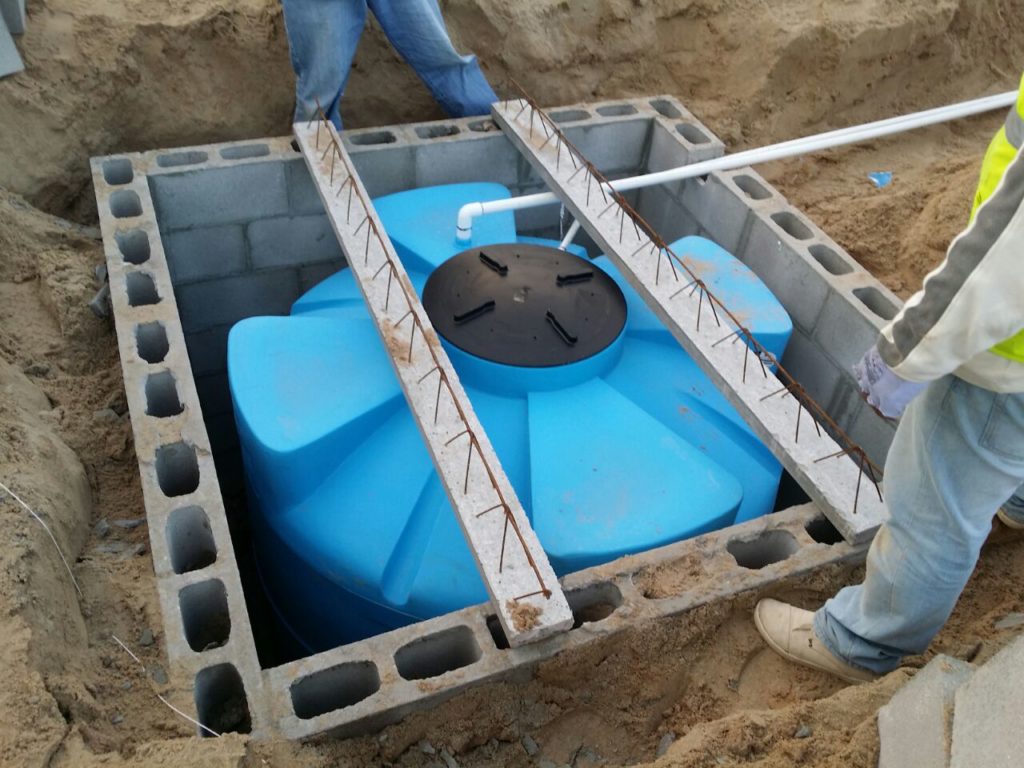
After all that is completed we are almost ready to break ground but first we need to prep the lot. This is a cost most purchasers don’t realize until they reach this point. Many lots here need fill or need excavation. This service is outside of the cost to build the home this is an added cost. If your lot if fairly level with the center of the street you are looking at a couple thousand dollars only. However, if it needs excavation or fill that can be expensive because the machines are leased by the hour. We have built homes where excavation can be as high as $25,000. When purchasing a lot always look for a level lot if possible because it will save you money.
Conclusion
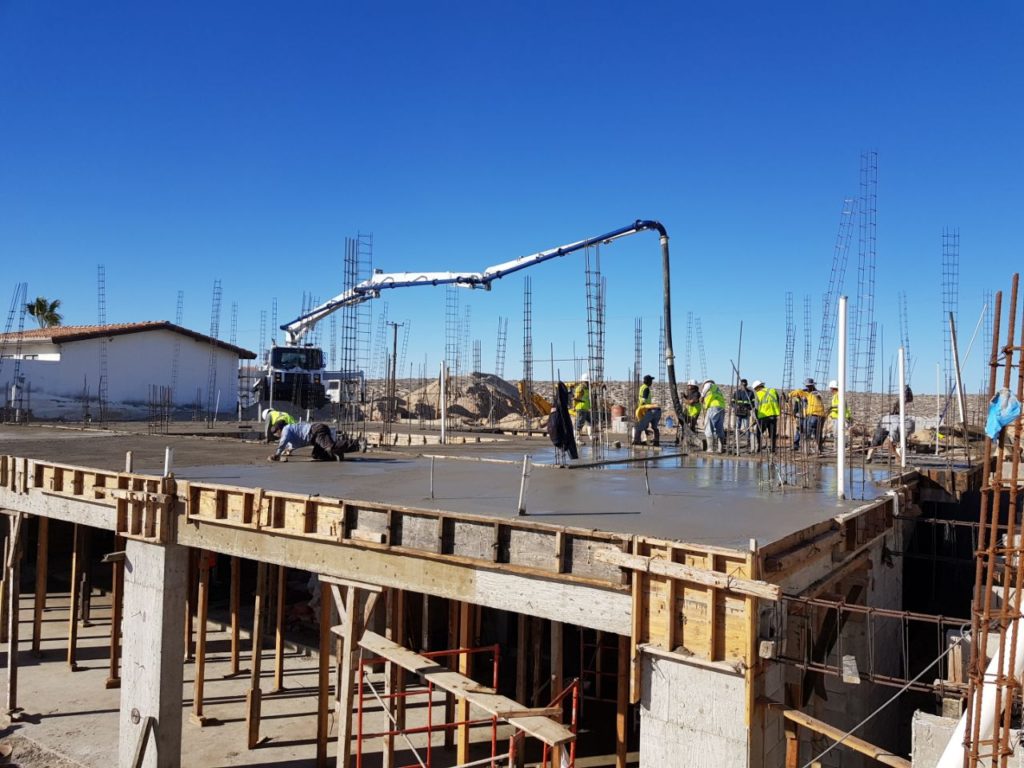
So now you know the costs necessary to start construction of your home. The costs outlined today are extra costs and outside of the contractor’s price to build your home and out of their control but they will be happy to assist you with getting them taken care of.
About the author: Joseph Sanchez is president of Rocky Point Home Builders a design/build contractor specializing in custom home design, construction and renovations. He resides here in Puerto Peñasco with his wife and two children and is originally from Chicago. For more information email him at sales@rockypointhomebuilders.com
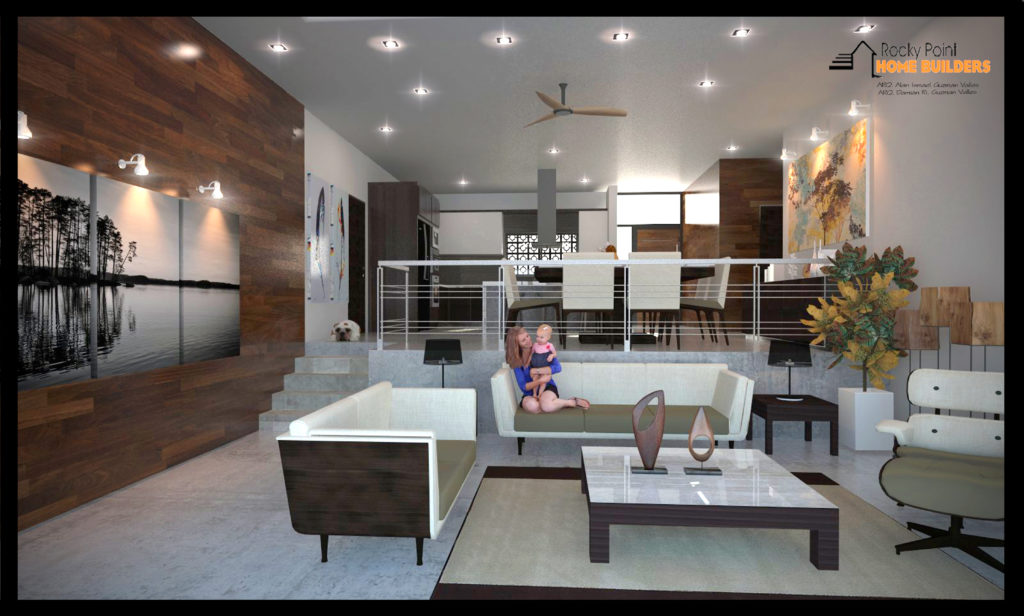
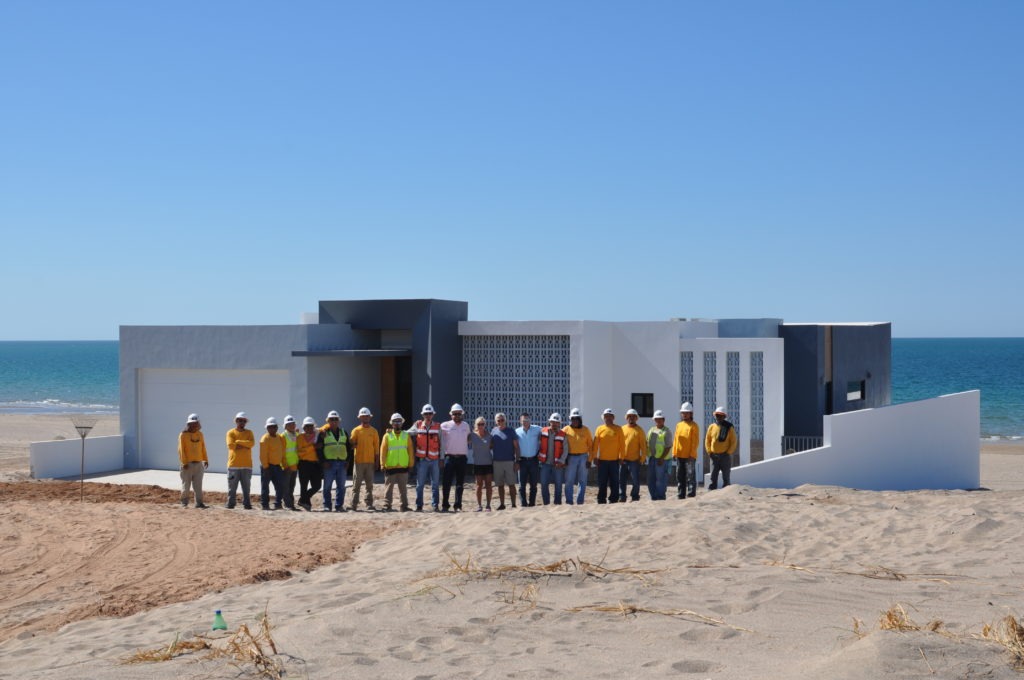
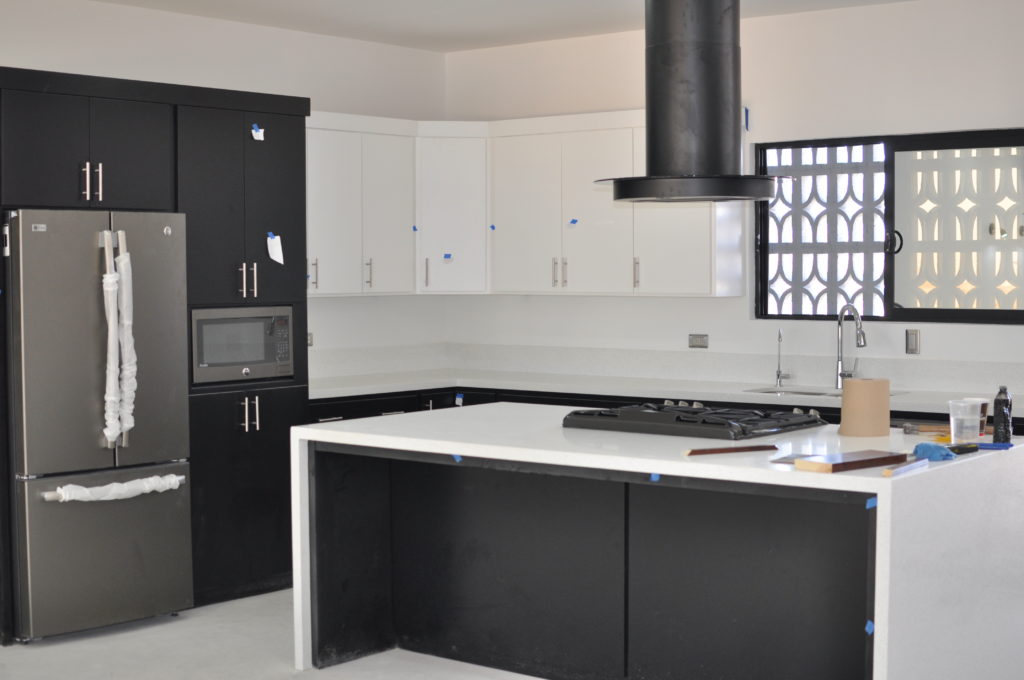
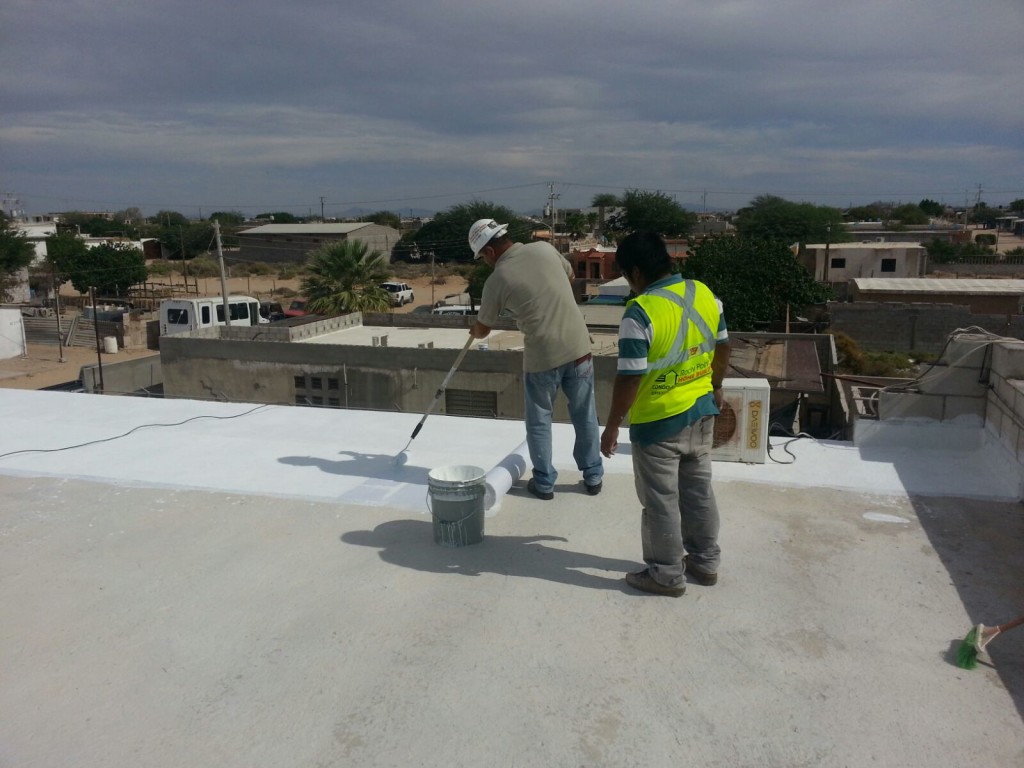 Renovating a home is serious business so you must have a plan that helps to accurately quote the project and to determine the steps for completion. When I say the word, “plan” I mean an engineered drawing or blue print, depending on the scope of work that will guide your contractor from start to completion. Choose a company that has design services so you benefit from single source responsibility and can see the results before you begin work. Not all projects require a design but if you are adding an addition or renovating a bathroom or kitchen for example, we encourage you to spend a little extra money on a design. You will make up that money saving on materials, time and eliminating any costly mistakes.